Lab: Ansible, Python3, and Virtualenvs on CentOS and RHEL
Overview
Virtualenvs make considerable sense, discussed in more depth here, in any complex python or Ansible environment. In the HOWTO, or lab, we’ll quickly get a python 3 virtualenv up and running on a RHEL or CentOS system.
This article is written making use of one of Red Hat’s Lab Environments running RHEL, in this case on AWS, however this should run fine on CentOS standalone systems. Obviously your repo configurations may vary so adjust to taste, I’ve assumed a pretty minimal install and have opted for CentOS available repos. If you want to recreate the system used to develop this then check out our industrial grade Ansible Cloud Deployer, deploying thousand of instances a week, agnosticd (and please join the growing community of contributors.)
|
Note
|
This is a Preview lab and is aimed at development and test environments
NOT PRODUCTION. For Production Ansible infrastructure I strongly recommend
using Red Hat Enterprise Linux and official yum packages throughout. In a Lab
situation however pip and virtualenvs offer tremendous flexibility
|
-
With many of the systems I’ve worked with I’ve found the repos for
python3on both CentOS and RHEL are often not enabled. In this case follow the step below though you can always skip straight to Step 2.$ sudo yum -y install https://centos7.iuscommunity.org/ius-release.rpmNoteI’m using a CentOS rpmabove as this will work with both CentOS and RHEL. This so those of you who are using CentOS can complete this HOWTO. -
Now we can install both python3 and pip3
$ sudo yum -y install python36u python36u-pipNoteAt this point I’d probably sym-link them to /usr/local/bin. Be careful with making any changes in/binitself as many pieces of software expect and use the default python.ln -s /bin/python3.6 /usr/local/bin/python ln -s /bin/pip3.6 /usr/local/bin/pip3 -
Optional, python 3.6 comes with support for virtualenvs so there is no longer a need to
pip install virtualenv. However I strongly recommend installing, and configuring,virtualenvwrapper. I find it indispensable and rarely, if ever, create or use virtualenvs without it. I plan to cover this in depth in my next article.pip3.6 install virtualenvwrapper -
Either set the following ENV vars from the command line or better still set them in your
~/bashrc, or equivalent andsource ~/.bashrcexport WORKON_HOME=$HOME/.virtualenvs export VIRTUALENVWRAPPER_PYTHON=/bin/python3.6 -
Next source
virtualenvwrapper`s `/bin/virtualenvwrapper.sh. Again it makes sense to put this in your~/.bashrcor in my case often~/.zshrc.source /bin/virtualenvwrapper.sh
Making our first Python 3 virtualenv
Now we’ve completed all the pre-requisites to create, use, and destroy Python 3 virtualenvs at will. So let’s create a simple virtualenv with the latest and greatest Ansible.
-
Make the virtualenv with the
mkvirtualenvfunction we acquired when we sourced/bin/virtualenvwrapper.shearlier.$ mkvirtualenv ansible-py3 mkvirtualenv ansible-py3 Using base prefix '/usr' No LICENSE.txt / LICENSE found in source New python executable in /home/tok/.virtualenvs/ansible-py3/bin/python3.6 Also creating executable in /home/tok/.virtualenvs/ansible-py3/bin/python Installing setuptools, pip, wheel... done. virtualenvwrapper.user_scripts creating /home/tok/.virtualenvs/ansible-py3/bin/predeactivate virtualenvwrapper.user_scripts creating /home/tok/.virtualenvs/ansible-py3/bin/postdeactivate virtualenvwrapper.user_scripts creating /home/tok/.virtualenvs/ansible-py3/bin/preactivate virtualenvwrapper.user_scripts creating /home/tok/.virtualenvs/ansible-py3/bin/postactivate virtualenvwrapper.user_scripts creating /home/tok/.virtualenvs/ansible-py3/bin/get_env_details <output omitted> (ansible-py3) $ -
The prompt change tells us we’ve successfully made, and activated, our first python 3 virtualenv. Validate it is configured as expected.
(ansible-py3) $ pip list Package Version ---------- ------- pip 19.1.1 setuptools 41.0.1 wheel 0.33.4 (ansible-py3) $ type python python is /home/tok/.virtualenvs/ansible-py3/bin/python (ansible-py3) $ type pip pip is /home/tok/.virtualenvs/ansible-py3/bin/pip (ansible-py3) $ python --version Python 3.6.7 (ansible-py3) $ type pip pip is /home/tok/.virtualenvs/ansible-py3/bin/pip -
If everything is as expected then install Ansible
(ansible-py3) $ pip install ansible Collecting ansible Downloading https://files.pythonhosted.org/packages/17/c9/ d379b76ecaa42f4ee08b01c365e9ed1be0b302ff8a26eef120d481b144fa/ ansible- 2.8.0.tar.gz (14.3MB) |████████████████████████████████| 14.3MB 37.9MB/s <... output truncated ...> Successfully built ansible PyYAML pycparser Installing collected packages: MarkupSafe, jinja2, PyYAML, pycparser, cffi, asn1crypto, six, cryptography, ansible Successfully installed MarkupSafe-1.1.1 PyYAML-5.1 ansible-2.8.0 asn1crypto-0.24.0 cffi-1.12.3 cryptography-2.6.1 jinja2-2.10.1 pycparser-2.19 six-1.12.0 -
Confirm the virtualenv is configured as expected,
(ansible-py3) $ pip list
Package      Version
------------ -------
ansible      2.8.0
asn1crypto   0.24.0
cffi         1.12.3
cryptography 2.6.1
Jinja2       2.10.1
MarkupSafe   1.1.1
pip          19.1.1
pycparser    2.19
PyYAML       5.1
setuptools   41.0.1
six          1.12.0
wheel        0.33.4
So now you have a working python3 virtualenv with the latest and greatest Ansible installed. If you are not familiar with creating and activating virtualenvs I recommend taking a look at these related resources below.
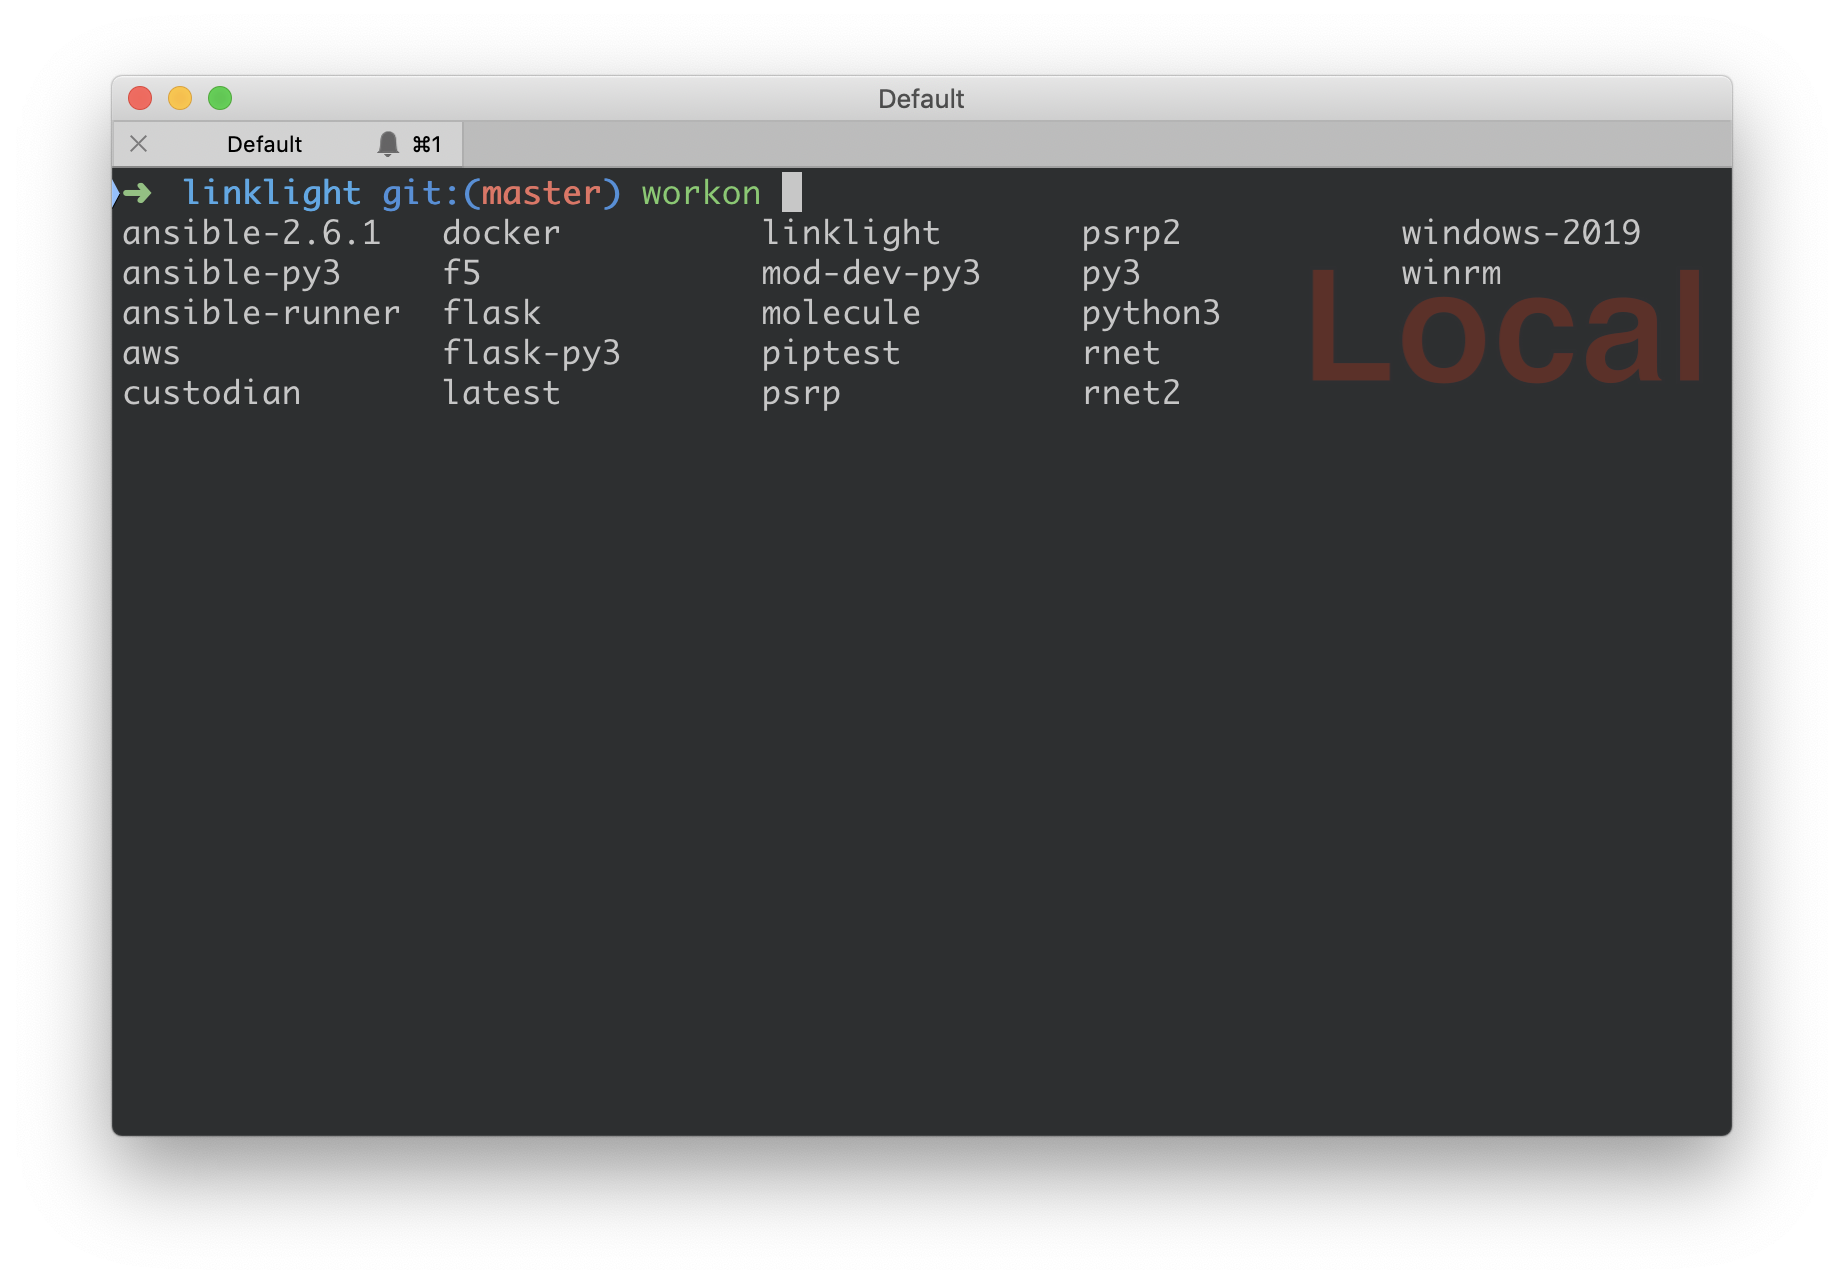
However if you are in a hurry then workon <virtualenv-name>, deactivate,and
pip install will get you started. Or the
pip cheatsheet.
-
Index of all my Ansible and Virtualenv articles (Also contains further resources and reading)